
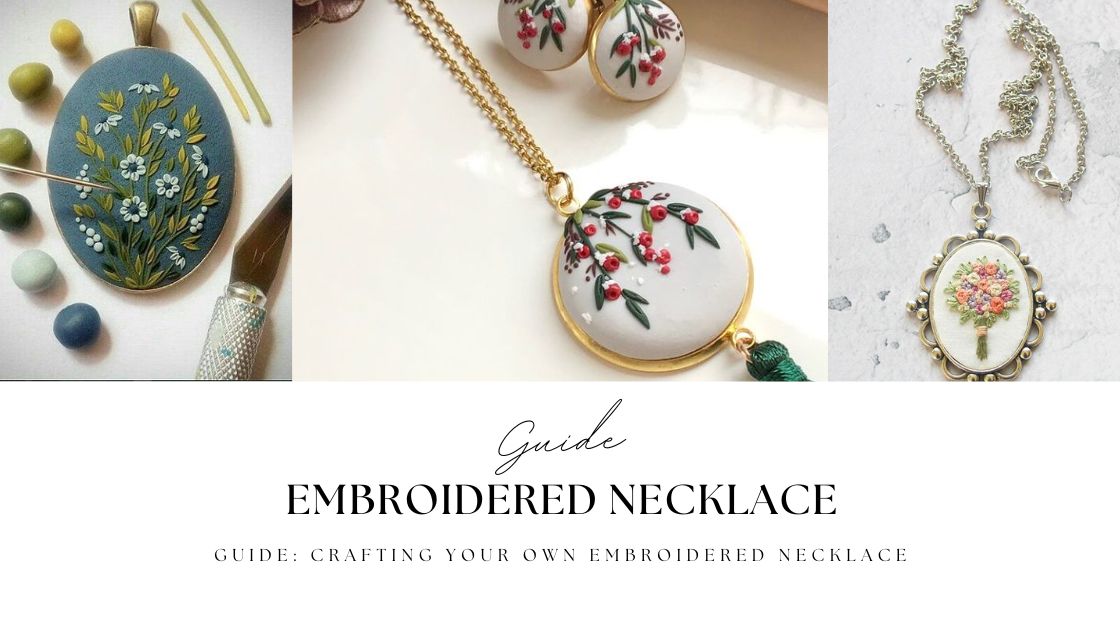
Welcome to the ultimate guide on crafting your own embroidered necklace! Embroidered necklaces are not only stylish accessories but also delightful expressions of creativity. Whether you’re a seasoned crafter or a beginner looking for a fun project, this guide will take you through the step-by-step process of creating a stunning piece of wearable art. From selecting materials to mastering embroidery techniques, let’s embark on this crafting journey together and unleash your inner artist!
Contents
Materials Needed
- Metal necklace pendant
- Matching necklace chain
- Thin cardboard (e.g., from a cereal box)
- Fabric
- Embroidery floss
- Needle
- Scissors
- Pencil
- Small embroidery hoop
- Strong glue (such as Gorilla Glue)
- Hot glue gun with glue stick
- Clamps or alternative weights for securing the pendant during assembly
Guide: Crafting Your Own Embroidered Necklace
Prepare Pendant Components
- Trace pendant shape on cardboard and cut it slightly smaller than traced lines.
- Lay cardboard on fabric, marking spots slightly away from edges and drawing a line 1/4 inch away.
- Draw desired design (e.g., heart) in fabric center.

Embroider Your Design
- Secure fabric in embroidery hoop.
- Use embroidery floss and needle to stitch design along marked lines.
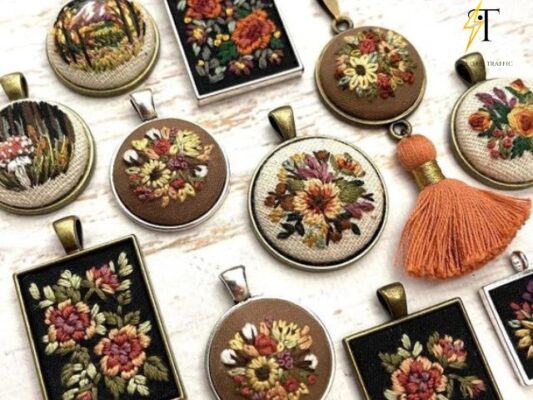
- Experiment with different stitches and patterns to enhance your skills.

Assemble the Pendant
- Apply strong glue to back of embroidered fabric.
- Place fabric inside pendant.
- Use hot glue gun to attach cardboard disc on top of fabric.
- Secure pendant with clamps or weights while glue sets.
Attach the Chain
- Connect necklace chain to pendant loop.
Final Touches
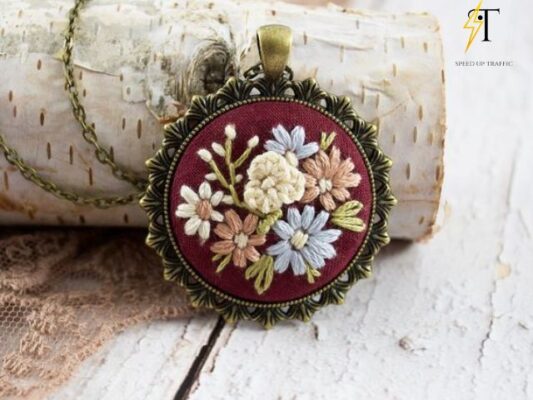
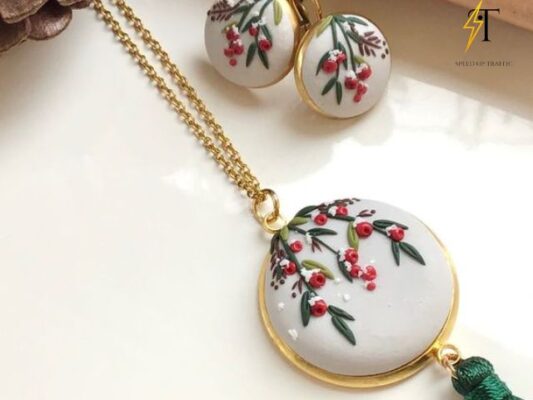
- Your lovely DIY embroidered necklace pendant is now ready to wear or gift!
- Get creative and customize necklaces for yourself or loved ones!
Tips: Decorate the necklace in your favorite style. You can refer to some unique fonts suggested on our website to create a highlight for your favorite embroidered necklace.
Conclusion
Congratulations on completing your embroidered necklace pendant! With just a few simple materials and steps, you’ve created a beautiful piece of wearable art that’s sure to impress. Feel free to draw inspiration from our collection of fonts to embellish your embroidered necklace with unique designs and patterns. Whether you’re keeping it for yourself or giving it as a thoughtful gift, this project showcases your creativity and skill.
Remember, embroidery offers endless possibilities for personalization and expression. Don’t hesitate to experiment with different designs, colors, and stitches to make each necklace truly unique.
We hope you enjoyed this tutorial and found it helpful, whether you’re a beginner or a seasoned crafter. Keep exploring the world of embroidery and unleash your creativity in new and exciting ways.
Thank you for joining us on this crafting journey. Happy crafting!
Related Post
Explore Best 20+ Free Fonts for Commercial Use
Best 10+ Outdoor Fonts for Nature Lovers
Celebrate a Nation of Diverse Readers