
Contents
- 1 Understanding the crop feature in Adobe Illustrator and how it works
- 2 Differences between cropping regular images and vector images
- 3 3 ways to crop images in Adobe Illustrator (Easy Step)
- 4 Crop vector images on raster images
- 5 Note that if you want to save a vector image, it is recommended to save it as an EPS file
- 6 Conclusion
- 6.0.0.1 How to Celebrate Mother’s Day Meaningful
- 6.0.0.2 30 Best Mother’s Day Messages Words from the Heart
- 6.0.0.3 Best 25 Meaningful Mother’s Day Gift Ideas
- 6.0.0.4 Perfect Brand Identity in POD: Tips for Success
- 6.0.0.5 Master Text Effects in Photoshop
- 6.0.0.6 Best 15+ Free Embroidery Patterns for You
Understanding the crop feature in Adobe Illustrator and how it works
For many users, the cropping feature in Adobe Illustrator is one of the most important tools for creating accurate, professional-looking images. The crop feature allows you to select a specific area in the image or choose and remove everything else outside that selection.

This is very useful when you need to make sure that all your images are placed correctly in relation to each other.
“When you crop your images, vector graphics, text, and more, you can either remove part of your item completely off from the artwork or only hide the items you’d like to cover, without removing any parts permanently. It may seem like you are cutting objects, but cropping an image is different.” – Meetanders
Differences between cropping regular images and vector images
When using the latest Adobe Illustrator in 2023, you need to consider whether the photo is vector-based or a regular image known in graphic design circles as a raster.
Raster images are better known as JPEGs or PNGs, while vector images are always known as formats such as SVG, AI and EPS. It’s important for choose right crop tools depending on whether you choose a raster or vector image to achieve the desired result.
3 ways to crop images in Adobe Illustrator (Easy Step)
- Select an image you want to crop
- Select the “Crop” button in the top toolbar
- Select an area where you want to crop and click “Crop”
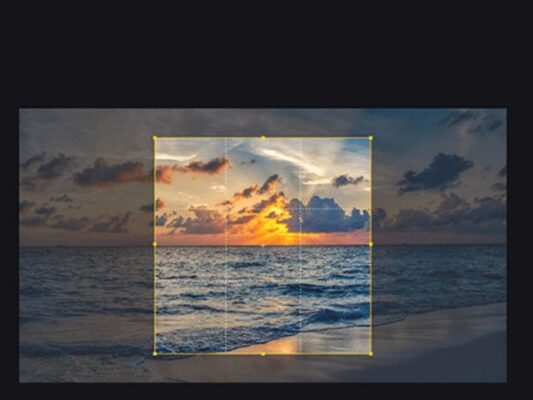
This is usually the simplest way to crop a raster photo and select the desired area.
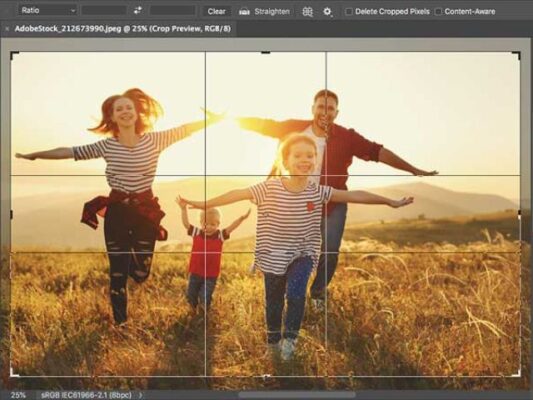
2. Crop the image using the Artboard tool
- Select the image you want to crop
- Select “Artboard” from the toolbar
- Drag the mouse over the desired area of the photo and press “Crop”.
“With Artboard, it’s requires a more detailed selection of an images which makes it easy for selecting more specific areas.” – Marketing Optimised
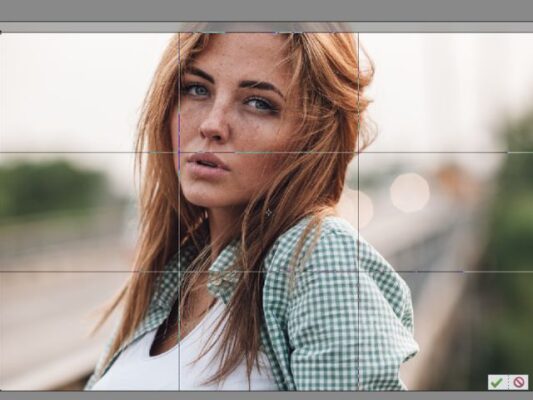
3. Crop the image using the mask feature
- Select the link image from the linked files.
- Select “Mask” from the control Panel
- Drag the mouse to an area you want to crop of image and press “Crop”
Crop vector images on raster images
- Put the vector image on the artboard
- Create a new object like a square and place it on the vector image
- Select all vector image and square object
- Choose “Clipping Mask” on control panel or use shortcuts on Windows (CTRL + 7) or Mac (CMD + 7)
Then, you will see vector image cropped to the exact shape and size of the object as square.
“As highlighted above, cropping vector based images can be a little more tricky than rastor images. It is important to note that linked vector based images will be the easiest way to crop them.” – Marketing Optimised
- Complete and save the cropped image
Note that if you want to save a vector image, it is recommended to save it as an EPS file
- Select “File” in the toolbar
- Choose “Save” or use shortcut (Ctrl + S) on Windows and (CMD + S) on Mac
- Select the format you wish and press Save or Enter
There are many format you can choose to save your files. If you need to preserve the hight resolution of an image, choose a format that can be used for printing, such as JPG, TIFF, or PNG.
Conclusion
“Depending on how you want your image cropped, there are several options to make it happen and the simplest way is no doubt, the crop tool. But if you want to crop out a shape, or have the freedom to manipulate the image, use the clipping mask or opacity mask method.” – June Escalada
Related posts