
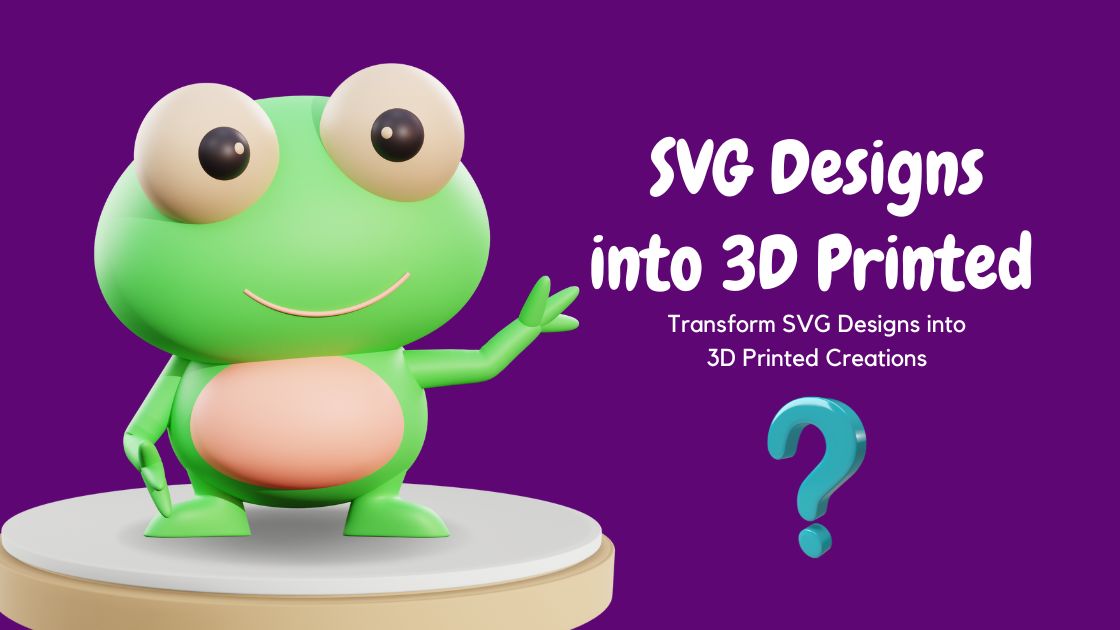
Welcome to the world of digital fabrication where creativity knows no bounds! In this exciting journey, we explore the fusion of two powerful realms: SVG designs and 3D printing. SVG, Scalable Vector Graphics, offers a versatile platform for creating intricate and captivating designs, while 3D printing unlocks the potential to bring these designs into the physical realm. Join us as we delve into the process of transforming SVG designs into tangible 3D printed creations, unleashing a world of endless possibilities for artistic expression and innovation. Whether you’re a seasoned designer or an aspiring maker, this exploration promises to ignite your imagination and inspire your next masterpiece. So let’s dive in and discover the magic of bridging digital artistry with tangible craftsmanship!
Contents
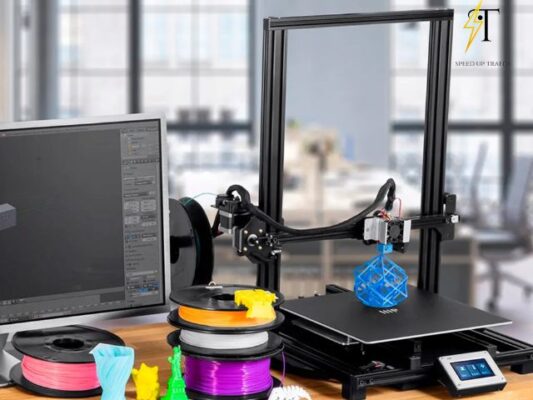
Types of 3D Printers
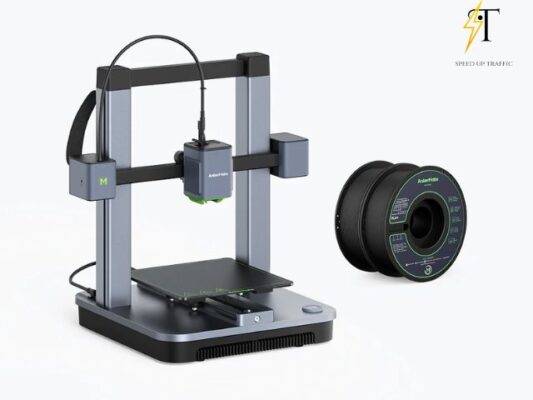
PLA Printers
These are affordable entry-level printers. Instead of ink, they use plastic filament. The printer melts the filament and deposits it layer by layer to create the object. PLA printers are great for larger models.
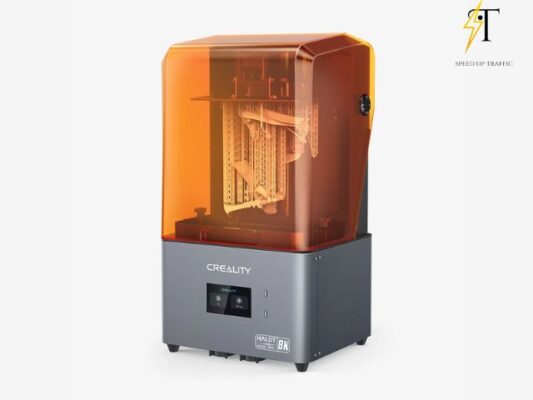
Resin Printers
Slightly pricier but capable of intricate detail. Here’s how they work: a metal plate is suspended above a vat of UV resin. The build plate is dipped into the resin, and a UV light shapes it layer by layer. After printing, rinse the model in IPA (alcohol) to remove residue and cure it under a UV light.
What You Need
- A 3D printer (like the Elegoo Mars resin printer)
- SVG files (we’ll use Mandala earrings)
- A Windows PC/Laptop
- Windows 3D Builder (free software)
- USB stick
Transform SVG Designs into 3D Printed Creations
Step 1: Choose Your Files
- Download the SVG files for the earrings you want to create. For example, if you’re making Mandala earrings, download the corresponding SVG files and extract the .zip file.
- Make sure you also have a .JPEG or .PNG version of the design you want to use as a reference.
Step 2: Prepare the Model
- Open Windows 3D Builder on your Windows PC or laptop.
- Import the SVG file into the software.
- Once imported, you can adjust the size, position, and orientation of the model as needed.
- Take your time to ensure the model looks exactly how you want it to.
- Once satisfied with the adjustments, save the 3D model in the desired file format.
Step 3: Print Your Earrings
- Transfer the saved 3D model file to your 3D printer using a USB stick.
- Follow the specific instructions provided by your 3D printer manufacturer to set up the printing process. This may involve:
- Preparing the printer by ensuring it’s clean and properly calibrated.
- Loading the appropriate type of resin into the printer’s resin tank.
- Adjusting any settings such as layer height or exposure time based on the complexity of the design.
- Once everything is set up, initiate the printing process through the printer’s interface.
- Monitor the printing progress and ensure there are no issues such as resin spills or print failures.
- After the printing is complete, carefully remove the printed earrings from the printer’s build platform.
- Rinse the printed earrings in isopropyl alcohol (IPA) to remove any uncured resin residue. This step is crucial for achieving a clean finish.
- Place the rinsed earrings under a UV light source or in direct sunlight to cure the resin fully. This step helps to harden the resin and ensures the earrings are strong and durable.
- Once cured, your 3D printed earrings are ready to wear and showcase your crafting skills!
Conclusion
In summary, this guide has provided an introduction to 3D printing, explaining its process and types of printers available. By focusing on creating earrings from SVG files, we’ve outlined step-by-step instructions to help crafters successfully navigate the printing process. With this knowledge, individuals can confidently explore the world of 3D printing and unleash their creativity to produce unique and personalized jewelry pieces.
Related Post
Best 10 Anime Room Decor Ideas
Perfect 15+ Photoshop Portraits Actions
Exploring Digital Art: Unique Digital Collage